When we talk about the PC cleaning and optimizing software then CCleaner is one of the most popular programs that is used by millions of users from around the world. It helps you to delete the temporary files, browser cache, and redundant files with just a few clicks resulting in boosting the overall performance of the PC.
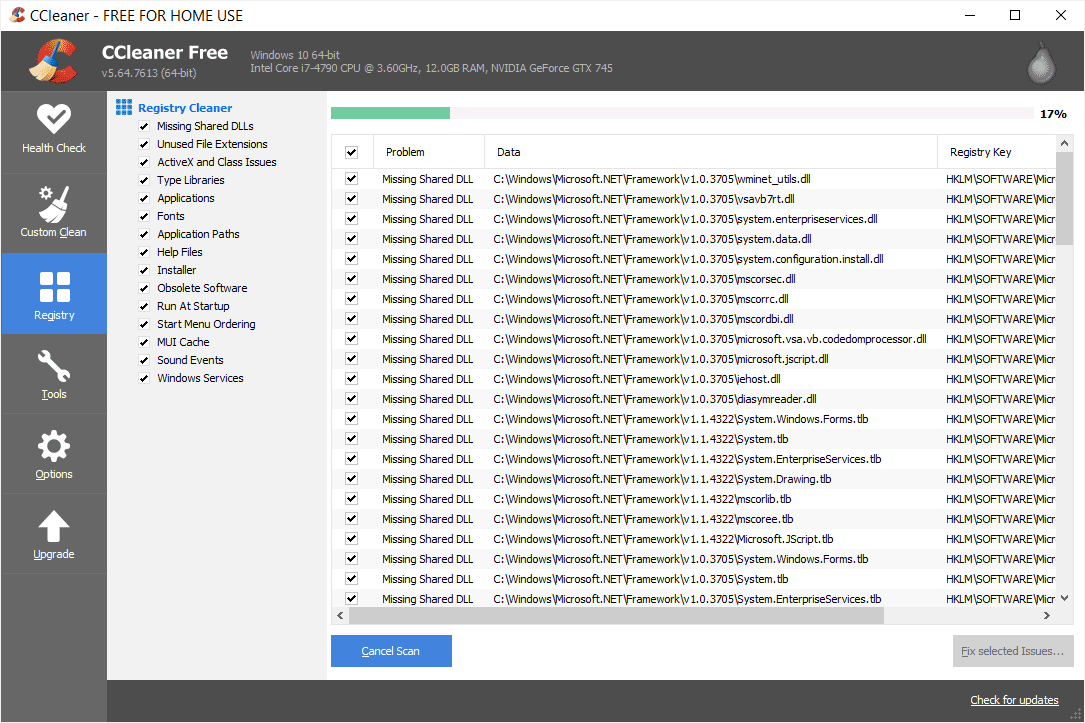
But like every other software CCleaner is also not completely free of errors and the most common error that is faced by CCleaner users is of CCleaner update not working properly.
So if you too are facing any such problem of CCleaner not working then you have landed at the right place, as in this article we will share some common troubleshooting tips to fix the problem of CCleaner update not working. So without further ado let’s start.
How to Resolve the Issue of CCleaner Update not Working
The problem of CCleaner update not working is not that big as it seems and can be easily resolved by following the steps given below:
If CCleaner is not working or the application fails to update to the latest version then first reboot the computer and try to run the application again. If the issue of the update not working is due to a temporary software glitch then you will be surprised to see that the problem of CCleaner not working now no longer exists.
But in case the issue persists then it is because the name on the signing certificate doesn’t match with the name of the publisher. So please be assured that the name on the signing certificate of CCleaner should be no different from the publisher name to update the CCleaner application successfully.
So to fix this issue all you need to do is to visit the main/official website of CCleaner and directly update the program from there.
Another possible reason that causes the CCleaner update to fail is your security program that you have installed on your computer. As we all know that none of the antivirus programs have a 100 % detection rate and none of them are false positive proof. This means it is highly likely that the security application installed on your computer is incorrectly detecting CCleaner and blocking its update.
In order to check and fix this issue you can consider temporarily disabling your antivirus program and then try installing the updates again. And if it is due to your antivirus then hopefully you can easily update CCleaner without any problem once you temporarily disable it. Now don’t forget to enable your antivirus application.
To avoid the problem of CCleaner not working in future you can either report this as a false positive to your antivirus company or add the exe and other supporting file of CCleaner to the exclusion list of your antivirus program.
Even after taking all these troubleshooting steps, if the problem still persists then you need to remove CCleaner completely by uninstalling the program from the control panel and removing all files that are related to CCleaner.
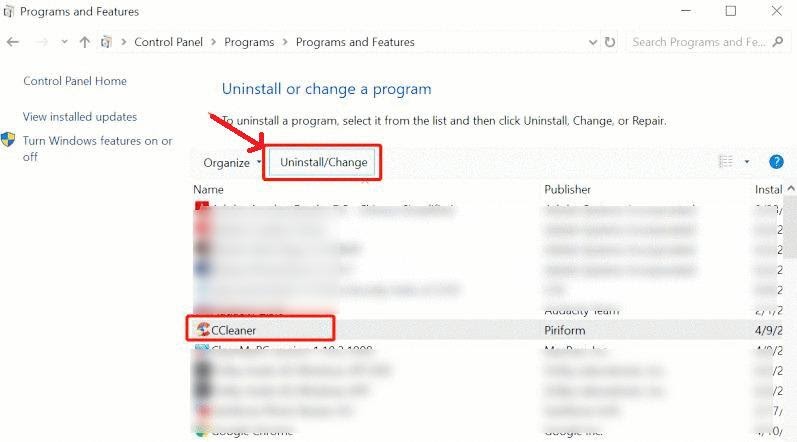
And after that install a fresh copy of the product from the official website.
CCleaner not Working after Windows 10 Update
Some users have also reported that CCleaner stopped working after the Windows 10 update. So if in your case also CCleaner has stopped working after Windows 10 update then it may be due to Windows 10 compatibility issues.
However, to resolve this issue you can reinstall your CCleaner application from the official website of CCleaner. But before installing the latest version of the application from the main website make sure that you have completely deleted the CCleaner app and its supporting files you have installed earlier.
Auto-Update of CCleaner not Working
If CCleaner is not auto updating itself then there are chances that the automatic update feature within the application is disabled.
Therefore to fix this issue first make sure that automatic update feature is enabled within the CCleaner application. If in case it is disabled then navigate to CCleaner main page and then click on the Setting icon in the panel on the left side. Now checkmark the box that reads “Automatically check for updates to CCleaner.”
Once done, restart the application for the changes to take effect.
Also, ensure that the setting, Important updates or emergency updater is enabled.
To do so go to the option of Updates and then check the box that reads “Apply these updates automatically” that is located below the section of Important Updates.
Conclusion
We hope that the above article has helped you in fixing the problem of CCleaner not working and now you can use the program without any problem. But in case none of the above methods work then you can think of CCleaner Alternatives that can help you in optimizing the performance of your system similar to CCleaner.