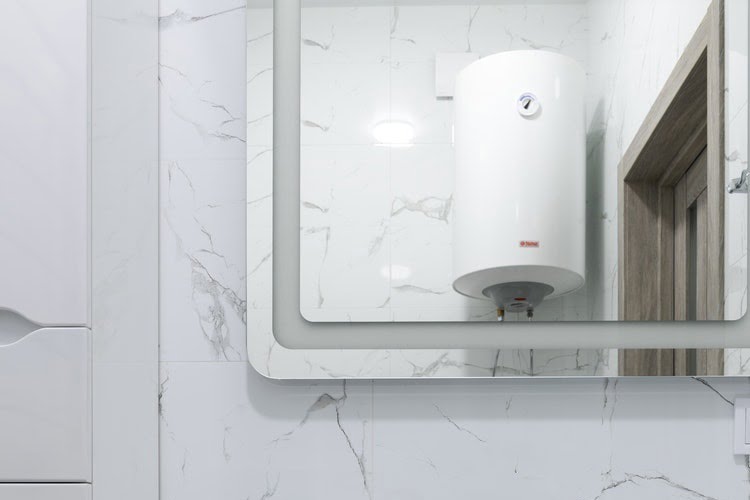
A water heater should last a minimum of 10 years. All you have to do is maintain it properly. This article will tell you how to do it with success. No matter what type of water heater you have there are more than a few things common across the spectrum. For example, most of the water heaters will have a heating element, fuse, thermostat, etc.
Why you should clean your water heater?
Water from supply contains an excess of minerals, sediments, and various chemicals. This will eventually build up inside your system and cause clogs. Your water heater will become inefficient and fail to deliver hot water on demand.
These sediments and contaminants can even cause damage to your heating elements and clog the drain valve. A water heater with inefficiency will cause higher utility bills. Sediments can also cause your water heater to leak.
You can avoid all these problems by flushing the system regularly. Cleaning and flushing the water heater is easier than you imagine. The whole process does not take a while and you do not have to do it every day. Clean and drain every 3 or 6 months and you are good to go.
Ultimately your water heater’s cleaning schedule depends on the type of water source your area has. Saltwater and hard waters are more likely to cause clogs whereas soft water from rivers and lakes will not cause as many clogs. The environment protection agency or EPA provides all the necessary information about water in the area. Contact them to know everything relevant about the type of water in the supply.
One easy hack is to install a water softener. Then you can flush the water heater every 6 months. If you do not have a water softener and live in hard water areas, flush every month to keep the water heater in a good condition.
Indications that your water heater requires a flush
Yes, you can maintain a cleaning schedule but sometimes the water heater can demand early cleanings. There are certain signs and indications that you should keep an eye on. If one or some of these are present you should clean out the unit. If the problem persists consider a professional water heater inspection.
One of the most prominent signs is that water is not getting hot enough. The most probable causes include sediments not letting heating elements transfer the heat or heating elements not getting lit at all for sediments. Either of those cases requires quick flushing.
Another one is that the water heater is making weird noises. The hard water can make the sediments clump together and form calcified stone and it makes noises in the water heater. By flushing the water heater and deep-cleaning it you can get rid of all the stones.
If your water smells a bit rusty and there are weird colours in the water you should consider flushing the water heater right away. Bacteria growth is also one of the reasons for discoloration. Flush the heater for health reasons as well. This kind of water is one of the main sources of water-borne infections.
The process of cleaning the water heater
Anyone can flush and clean the water heater by following these steps. It is important to understand that these are not rigid orders but a guide. You may need to alter some things and add or subtract steps to achieve a better cleaning every time.
Tank based water heaters
1. Prepare the flushing
Switch off your water heater’s thermostat prior to doing anything else. If your tank has a “Pilot” mode, that may be all you need to do. Your pilot light will be turned back on without you having to do it yourself, which is simple but time-consuming. In this case, you won’t have to turn off the gas. If you have an electric water heater, you’ll need to turn it off using the proper switch.
Finally, turn off the cold water. On the heater, you’ll normally find a valve for this operation.
2. Turn on the hot faucets
This will help drain the tank. A vacuum will form and keep the water trapped in the water heater if this is not done. This will create further fuss so it is better to drain the tank beforehand.
3. Connect a hose to the drain valve
There ought to be a drain valve anywhere near the tank’s bottom. You’ll need to route this hose away from your apartment’s foundation, either into a huge container or outdoors. You may run the danger of drowning your basement or the area where the tank is located if you just use a bucket to remove the waste.
A drain in your basement may allow you to divert some of the water from your garden hose toward it.
4. Open the drain valve and empty out everything
If your tank has accumulated a lot of sediment, you might well be able to see pieces of the sediments being removed. It is possible to tell whether you’re doing a good job of cleaning your tank depending on how much sediment you remove.
As soon as you open the drain valve and see no flow, this indicates that silt has blocked the drain valve, which is a bad indication. A wet/dry shop vacuum may be used to remove the clog. This is generally enough to get the job done. If it doesn’t, get a professional’s help.
5. Start again the cold water supply
Before you unhook your hoses from the drain valve, turn on the cold water supply. You may use this water to flush your tank of any further sediment that has accumulated.
In order for the water to clear, operate the drain valve for a few minutes. Then, switch off the cold water once again and flush again.
6. Shut the drain valve
Disconnect the garden hose and close the valve before reconnecting the cold water supply.
7. Close the faucets
You may see discolored water coming out of your taps while your water heater’s tank is refilled. After a few seconds, this should be resolved. As soon as this occurs, you can shut off the cold water.
8. Finish
Resetting the thermostat, relighting the pilot light had you chosen to turn it off, and turning the power back on if you’re using an electrical heater are all part of this process. Start using the water heater again. You can see the difference yourself by cleaning the water heater.
Use vinegar and see the magic
You can use vinegar if you feel that the water heater has accumulated a lot of sediment. Using vinegar to clean a water heater is a simple method that only takes a few steps. Use them for safety and a thorough cleaning:
Remove the anode rod
Follow the water heater’s instruction manual and remove the anode rod. You will need a wrench to unfasten bolts.
Start using the vinegar
Use a funnel or something else to pour the vinegar inside the hole of the anode rod. No more than 16 litres of vinegar should be poured at once. Be a bit conservative with vinegar. Do not use more than necessary
Reinstall the anode rod
After you are done with pouring vinegar, reinstall the anode rod and start the cold water supply. It will take no time to fill up. Now let the water sit in the heater overnight, ideally a full day. Vinegar acid will destroy the sediment buildup.
Then start from step-one to step-8
After these, do the regular flushing following the previous steps. This will clear out the vinegar-infused water and you can start using the heater once again.
Tankless water heater
The previous parts were for the traditional tank-based water heaters. Nowadays many people are opting for tankless water heaters. Just because it does not have a storage tank, it also is not safe from sediment buildup. Following these steps will help you to clean tankless water heaters:
1. Switch off everything
Shut off everything. This means disconnect from the power source and begin the preparation.
2. Remove water heater’s panel and check for electricity
You can determine whether you’ve effectively unplugged power from the tankless water heater by using a no-contact electrical tester. This is a precautionary measure to alert you if you’ve accidentally switched off the incorrect circuit breaker switch in your home.
Continue with the following steps after you’ve verified the power is off.
3. Shut off the water supply
Turn off the water supply that goes to the water heater.
4. Connect the hoses
When flushing a tankless water heater, you’ll have to actually add water to it. This is unlike flushing a tank-based one. Because of this, you’ll need two hoses. In this case, one links the unit to a pump and the other to an isolation valve.
5. Vinegary five-gallon bucket
Fill a five gallon bucket of water and vinegar mixture place your pumps inside of it. Also, put the opening of a second hose inside.
6. Keep the pump running for an hour
For an hour, let the pump run nonstop. Using a pump, the vinegar will be circulated through the heater in a continuous loop. The acidity of the vinegar, along with the steady flow, should be sufficient to dissolve any sediment that has accumulated in your heater.
7. Reactivate cold water
Your second hose may be left in the five-gallon bucket that you’ve now cleaned out of vinegar. Let the bucket of cold water flow for approximately five minutes before cutting off the cold water source.
8. Finish
Disconnecting the hoses and restarting the water supply valves are part of this process. The last step should be to re-establish power to the device.
How to clean an electric water heater or gas water heater
To flush an electric water heater, use the same steps you’d use for a gas-powered one. The pilot light does not need to be re-lit since everything is powered by electricity.
When it comes to cleaning a gas water heater, there are two things to keep in mind. Before beginning the operation, you must turn off the gas. To reactivate the pilot light, you must turn the thermostat back on when you’ve done.
Conclusion
As a result of reading this tutorial, you should have a better understanding of how to flush out your water heater. If you follow the instructions outlined above, you should have no trouble completing this task.
Some of the unique concerns you should keep in mind are based on the kind of water heater you have.
Yet it is a sad reality that your water heater can become faulty any time despite the care and effort you put into it. For that, you need to stay vigilant. Once there is a problem with your water heater you should contact a professional plumbing company that deals with all water heater concerns.