Your home’s exterior is crucial to its overall appeal because it makes the first impression on visitors and passersby. Whether you aim to boost your curb appeal, enhance your home’s value, or simply refresh its look, updating your siding is one of the most impactful ways to achieve these goals. While professional siding installation can be expensive, several DIY house siding options can help you create a stunning exterior without breaking the bank.
In this guide, we will explore a variety of DIY house siding options and how to install them, including tips on working with stone veneer to help you transform your home’s appearance.
Top 5 House Siding Options for Your Home Exterior
Before starting any DIY project, you must understand the house siding options with which you will be working. Each material offers unique benefits and challenges, so choosing the right one for your home depends on your budget, aesthetics, and maintenance preferences.
DIY Vinyl Siding
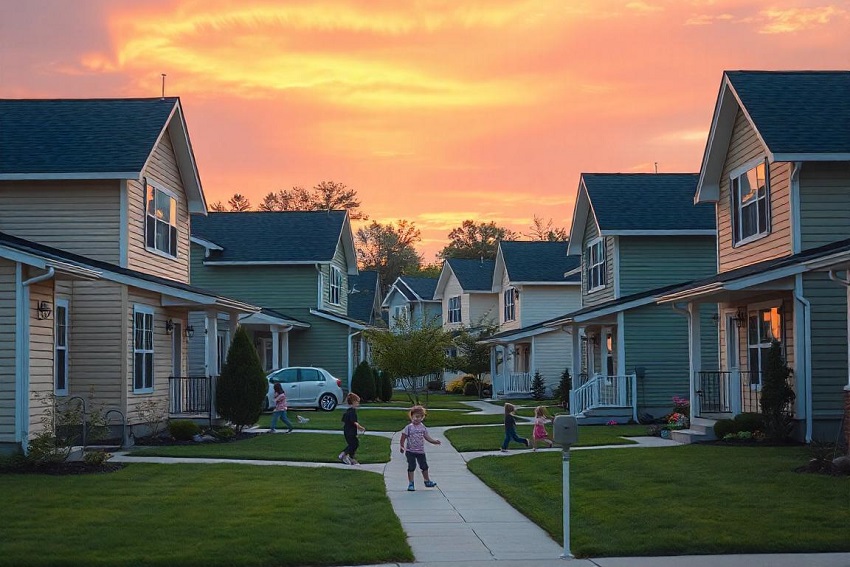
Vinyl is one of the more popular house siding options for good reason. Vinyl is affordable, durable, and low maintenance. It comes in various colors and styles, making it easy to match any architectural design. However, vinyl can crack in extreme temperatures, and its color may be faded by the sun over time.
It is an excellent choice for homeowners looking for budget-friendly, low-maintenance solutions. It is also relatively easy to install, making it a trendy option for DIY enthusiasts.
Installation
- Prepare the surface by ensuring the exterior is clean and accessible. Remove any existing siding and ensure the surface is smooth and undamaged.
- Install a starter strip at the bottom of the wall. Ensure its level, as it will be the base for the rest of the siding!
- Attach the rest of the siding with screws and nails according to your siding kit. Make sure to leave small gaps in between the panels and fasteners so there’s room for it to expand and contract with temperature changes.
- If your project involves trim, install it around windows and doors. Then, finish with corner pieces and a top cap to secure the siding and complete the look.
Customization Tips
Vinyl is open for customization, so to give it a unique touch, consider adding decorative trim or mixing different styles and colors. For example, you can use vertical siding on one section of the house and horizontal siding on another to create visual interest. Additionally, vinyl can be painted to match your desired color scheme, allowing endless customization options.
DIY Wood Siding: A Timeless and Versatile Option
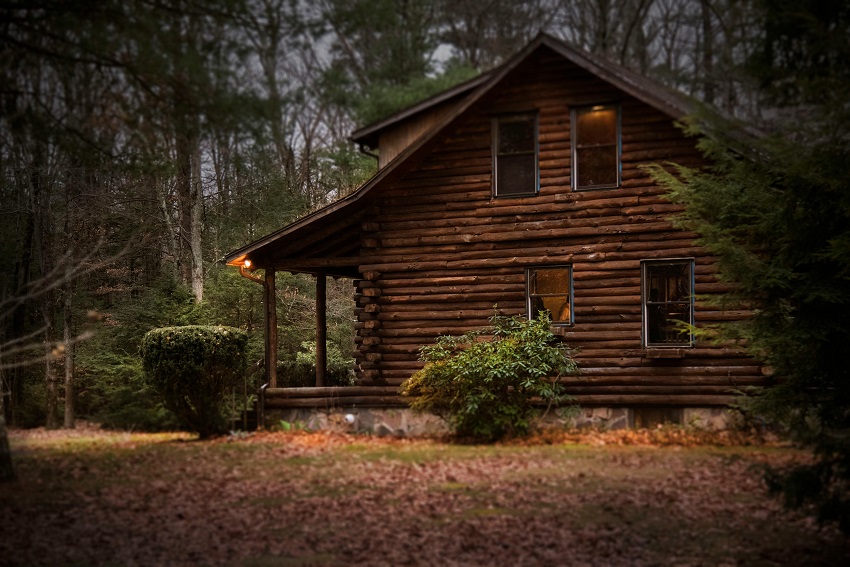
Wood siding offers a classic and natural look that can be stained or painted to suit your taste. Options include clapboard, shingles, and board-and-batten styles. While wood siding is environmentally friendly and can last for decades with proper care, it requires regular maintenance to protect against rot, termites, and weather damage.
Wood siding offers a warm and natural look that can complement various architectural styles. While it requires more maintenance than other materials, the results are often worthwhile, mainly if you aim for a rustic or traditional aesthetic. For environmentally conscious homeowners, you can use reclaimed wood for a weathered look or FSC-certified lumber sourced from sustainably managed forests.
Installation Techniques
- Choose the wood you would like to use. The common pines include cedar, pine, and redwood, but it depends on the grain and texture you would like to have on your exterior and the budget you have in mind.
- Measure (twice!) and cut the wood into boards on the siding. Before moving on, fit the boards together like on the wall to ensure the correct dimensions.
- Then, install protective barrier–building paper or house wrap—any proactive barrier to protect the building’s structure from water damage.
- Attach the siding to the walls with galvanized nails or screws. Be sure to overlap the boards slightly to create a tight seal that guards against water infiltration.
- Once the boards are installed, apply a finish (a stain or paint) to protect the wood and enhance its natural beauty. Regularly inspect and reapply the finish to maintain the siding’s appearance and durability.
Customization Tips
Wood is a little less forgiving of customization than vinyl siding, but nature did most of that when it created the wood’s natural grain. You can enhance it by adding oils and stains to enhance the natural beauty, which does double duty to protect it. You can also paint and sand the wood to achieve the desired texture.
DIY Fiber Cement Siding
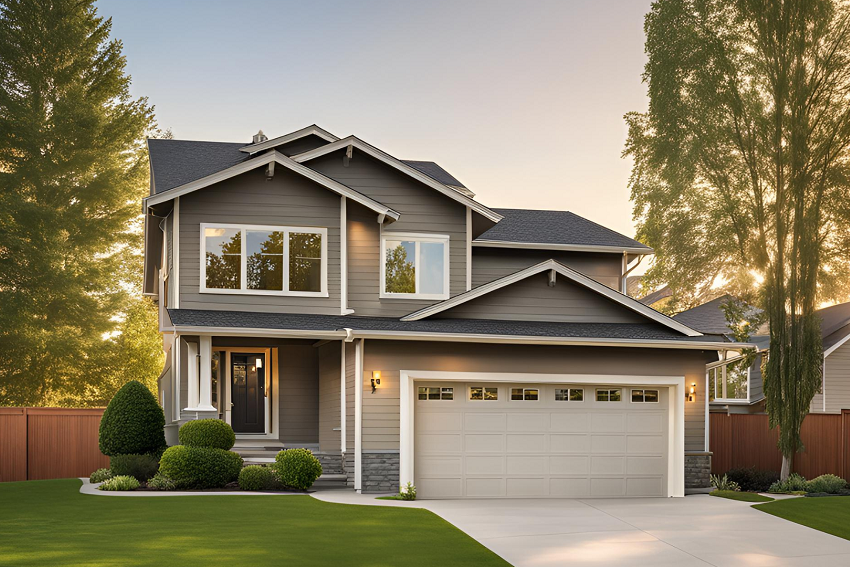
Made from a mixture of cement, sand, and cellulose fibers (derived from plants), fiber cement siding is highly durable and resistant to fire, pests, and rot. It can mimic the look of wood, stone, or brick, offering a versatile option. However, it can be challenging to install due to its weight and the need for special tools.
Fiber cement is a very durable option that can mimic the appearance of wood, stone, or brick. It is resistant to fire, pests, and rot, making it the most durable material. It is a little more complicated than wood or vinyl siding but doable for a dedicated DIY-er.
Installation
- Be sure to have the proper gear for this one. You will need to cut through cement, requiring a powerful saw with an appropriate carbide blade. You will need good safety glasses, gloves, and a dust mask because the cement will create some when cut.
- Install a weather-resistant barrier on your exterior siding before proceeding. Cement is heavier than wood and vinyl, and if the surface is not clean, it will not stick as well, and its weight will pull it off the side.
- Measure and mark (twice!) the cement panels, then cut them with a carbide-tipped circular saw (you can rent these from your local home improvement store if needed). Smooth the edges with sandpaper if needed.
- Install the panels much like the vinyl siding, starting from the bottom. Use galvanized screws for concrete, and make sure to leave a small gap between panels for expansion and contraction.
- Once the panels are in place, install trim around windows, doors, and corners to give the siding a polished look. Apply caulk to any gaps to block out water.
Customization Tips
Fiber cement siding can suit various looks, from modern to traditional. For a contemporary look, use large, smooth fiber cement panels with metal accents. For a more classic appearance, opt for fiber cement shingles with a textured finish that mimics the look of wood.
DIY Metal Siding

Metal siding, including aluminum and steel options, is valued for its strength, longevity, and imperviousness to pets. It is also available in multiple styles, including corrugated and smooth panels, offering a chic industrial look. Besides its cost, the main downsides to metal siding are that it can dent and may require a protective coating to ward off rust.
Metal siding creates a look that’s equal parts sturdy and trendy. It is durable, low-maintenance, and resistant to pests and fire. While it might not be the first choice for a traditional look, it is a stunning option for contemporary designs.
Installation
- Choosing your metal–aluminum and steel are the main options. Aluminum is much lighter and more resistant to rusting, but steel is much stronger and can be used in more textures, like corrugated.
- Measure (twice) and cut the metal panels into sizes with metal shears or a circular saw. Again, this requires specialized equipment, so you should consider having the metal cut for you. Whatever route you take, ensure the edges are smooth to avoid cutting yourself.
- Install furring strips across the wall to create a flat surface for the metal siding. These helps attach the metal and provide a gap for ventilating out moisture.
- Starting at the bottom, attach the metal panels to the side. Use metal screws and rubber washers to prevent leaks and overlap to create a watertight seal.
- Seal the edges with caulk or silicone sealant to stop moisture from penetrating.
Customization Tips
To achieve an industrial chic aesthetic like metal is known for, pair it with other materials like wood or stone. You can use metal siding on the upper portion of the walls and stone veneer on the lower half for a clean, modern appearance. Large windows, exposed beams, and minimalist landscaping enhance industrial vibes.
DIY Stone Veneer Siding
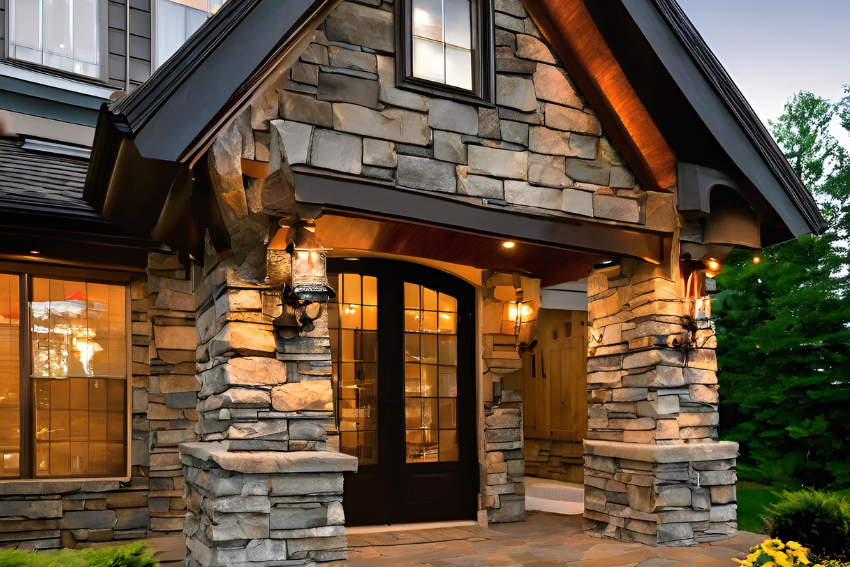
Stone veneer provides the luxurious look of natural stone without the weight or cost. It is made from lightweight, manufactured materials that mimic the appearance of stone, making it easier to install as a DIY project. Stone veneer is perfect for accent areas or covering an entire facade.
It is an excellent option for homeowners who want to add a touch of elegance to their home’s exterior without the high cost and weight of natural stone. It offers a luxurious look that is easy to achieve as a DIY project.
Installation
- Prepare the surface by making sure it is clean and level. If you are installing over plywood or wood, you will need to apply a mortar base first so the veneers can attach. This step is unnecessary for installing over brick, concrete, or metal.
- Measure and plan the area in which you will be siding. Then, use these dimensions to order the veneer you will use.
- When you have the veneer pieces, make sure they fit together. How will you install them? After confirming the fit, apply mortar to each stone piece’s back. Press firmly against the wall, starting from the bottom and going up.
- Wait 24-48 hours for the stone to seal. Consider applying a stone sealer to protect the veneer from stains and moisture that might seep between the pieces.
Customization Tips
Stone veneer can be infinitely customized, but it is limited only by the company you select. Choose a good stone veneer company, and you will have plenty of colors, materials, and textures at your fingertips at your disposal. Most companies will be open to working on custom colors if you desire something.
Conclusion
Transforming your home’s exterior with DIY house siding is a rewarding project that can significantly enhance its curb appeal and value. Whether you choose something budget-friendly like vinyl, the classic and timeless look of wood, industrial fiber cement and metal, or elegant stone veneer, there is a DIY option that will suit your needs and style.
By carefully selecting suitable house siding options and following best practices for installation, you can create a stunning and durable exterior that reflects your taste. With some creativity, good tools, and effort, your DIY siding project will be the talk of the town and home of envy in the neighborhood, providing a fresh and inviting look that will last for years.
Remember, each material has pros and cons, so keep those in mind, along with your budget, climate, and maintenance capacity, when you decide. With the proper planning and execution, your home’s exterior can be transformed into a beautiful and lasting work of art. Whether you are a seasoned DIY-er or this is your first time completing your project, your satisfaction is unmatched. We wish you the best of luck on your next project—happy siding!